How to hide joints on a long quartz kitchen platform
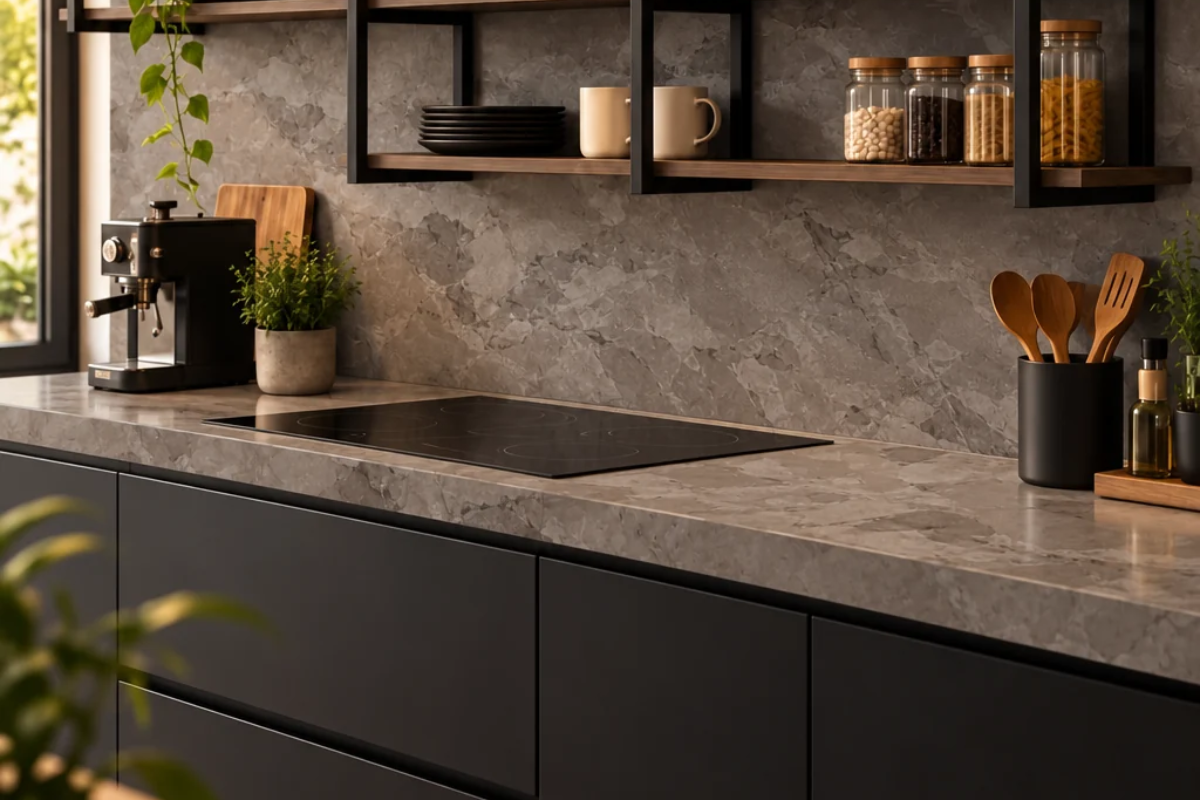
A long kitchen platform is one of the best things about a well-planned kitchen. More counter means more space to chop, knead and plate. But once the platform runs longer than a single quartz slab, it needs a joint, and a badly placed or badly made joint is the first thing the eye catches on an otherwise clean counter.
The good news is that joints in quartz kitchen countertops can be made almost invisible. It comes down to four things: the size of the slab, where the joint goes, the design you choose and how carefully the fabricator makes it.
Why joints happen
Every quartz slab has a maximum size. An L-shaped or U-shaped kitchen platform in an Indian home often runs to 4 or 5 metres in total, and sometimes more. Once the run is longer than one slab, or turns a corner, the counter has to be made from two or more pieces joined together.
A joint isn't a defect. Every stone kitchen counter longer than a slab has one. What matters is how few there are, where they sit and how well they are finished.
Start with a bigger slab
The simplest way to hide joints is to have fewer of them. That starts with quartz slab size.
A standard quartz slab is shorter than many modern kitchen runs. A super jumbo quartz slab from Pacific Surfaces runs to about 3.5 metres long, which means:
- A straight kitchen platform up to that length can be cut from one piece, with no joint at all.
- An island of that length can be a single slab, with no seam across the top.
- An L-shaped kitchen often needs just one joint, at the corner.
- A U-shaped kitchen often needs two, both at the corners.
Our guide to jumbo quartz slabs explains slab sizes in more detail.
Plan where the joints go
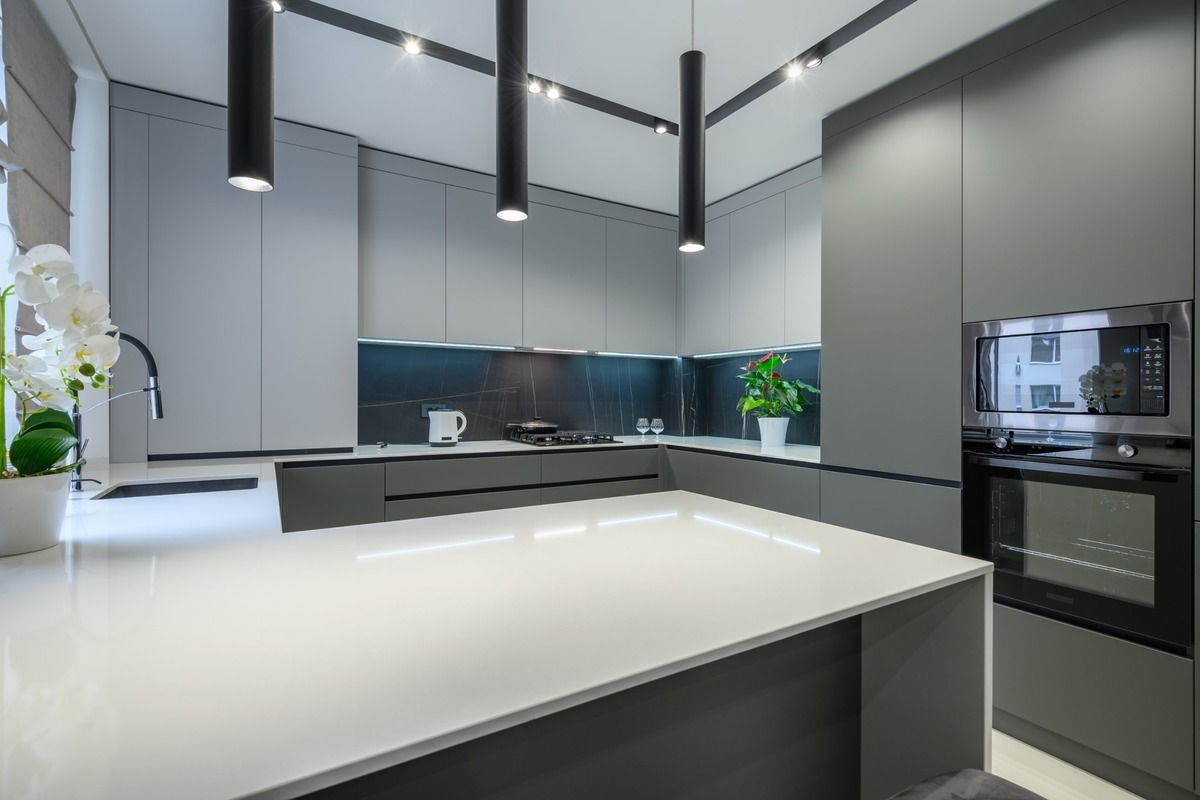
When a joint can't be avoided, its position matters more than anything else. Plan it with your fabricator at the kitchen platform design stage, before the slab is cut.
- Put joints at the corners of an L or U. A corner joint follows the line of the cabinets, so the eye reads it as part of the layout rather than a break in the stone.
- Keep joints away from the sink and the hob. Water around the sink and heat around the hob are hard on any joint, and the cut-outs already remove stone from those areas.
- Place joints over a cabinet partition or a solid support, never over an open space or a dishwasher gap, so both pieces are fully supported.
- Line joints up with a natural break in the room, such as the edge of a tall unit, the fridge gap or the end of a window.
- Keep joints out of the main line of sight. A joint near the far end of a run is noticed far less than one right in front of where you stand to cook.
A good fabricator will draw a cutting layout showing every joint before work starts. Ask to see it, and ask for changes if a joint lands somewhere you don't like.
Choose a design that hides seams
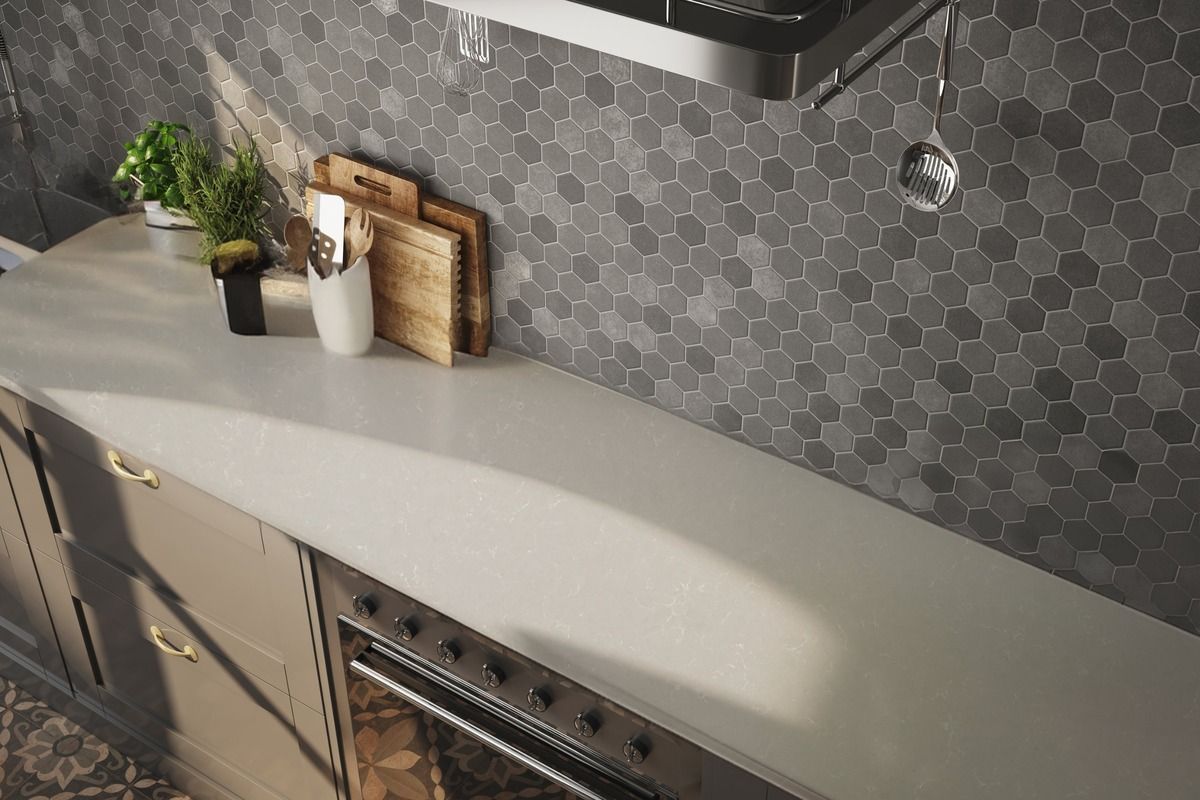
Some designs hide joints much better than others.
Plain, speckled and softly patterned designs are the most forgiving. On white quartz such as Super White or Brilliant White, or on a soft, even pattern like Oasis or our Celestia designs, a well-made joint almost disappears, because there is no vein to break and nothing for the eye to follow across the line.
Bold veining needs more planning. On marble quartz with strong veins, such as our Nebula and Eclipse designs, a joint shows if the veins stop sharply on one side and start somewhere else on the other. That doesn't rule these designs out for a long platform. It means the slabs need to be laid out with care, so the veins flow across the joint. Our guide to Carrara, Calacatta and statuario looks explains each pattern.
Match the veins and the batch
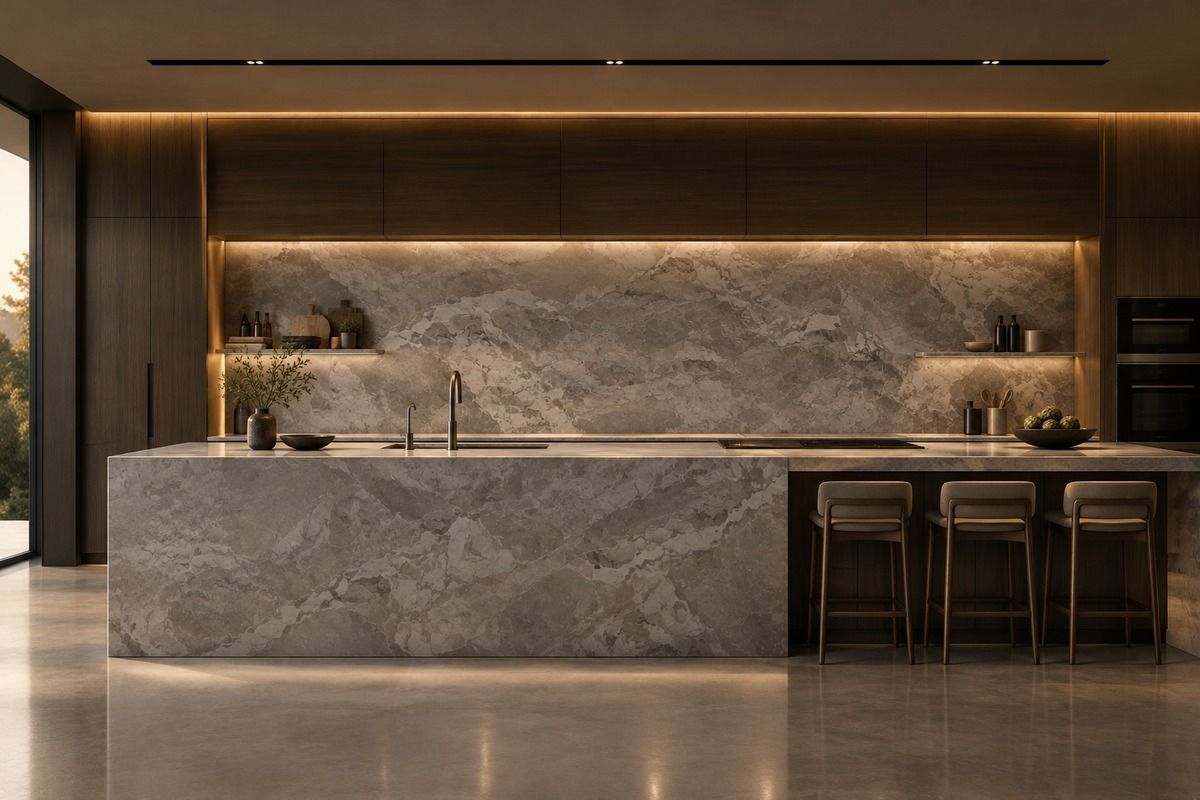
For any veined design, ask your fabricator to plan the cut on the full slabs, not on a drawing alone. Many fabricators lay the slabs out side by side, or photograph them, and mark the cuts so the veins continue across the joint as naturally as possible. Some designs can also be book-matched, where two pieces mirror each other at the joint for a deliberate, symmetrical look.
Order every quartz slab for the kitchen at the same time, so they come from the same production batch. Slabs from one batch match closely in colour and pattern, which makes any joint harder to see.
How a good joint is made
The finish of the joint itself is what separates a seam you notice from one you don't. A careful fabricator will:
- Level the cabinets first, so both pieces sit at exactly the same height.
- Cut both edges dead straight and clean, so they meet with almost no gap.
- Use an adhesive tinted to match the colour of the quartz, so the line blends in.
- Pull the two pieces tight and flush with a seam-setting tool, so there is no step to feel with your hand.
- Clean off the excess and finish the surface so it is smooth across the joint.
Run your fingers across a finished joint. On a well-made one, you can see a fine line if you look for it, but you shouldn't feel an edge.
Backsplashes and islands
The same rules apply on the wall. A full-height backsplash looks best as one large piece behind the hob or sink. Where the backsplash needs a joint, line it up with a joint in the counter below, or place it behind a tall unit or at the end of a shelf, so the vertical and horizontal lines read as one plan.
On an island, aim for a single slab across the top. Keeping the island within the length of one super jumbo slab is often the best way to get a top with no seam at all. If the island has waterfall ends, the corners are joined with mitred edges, which look like a clean fold in the stone rather than a joint. Our guide to kitchen island ideas in quartz covers waterfall islands in more detail.
Quick checklist
Before your kitchen platform is cut, make sure you have:
- Chosen the largest slab that suits your design, so you need as few joints as possible.
- Seen a cutting layout that shows exactly where every joint will go.
- Kept joints at corners and over solid supports, and away from the sink and hob.
- Picked a plain or softly patterned design for a long run, or planned vein matching for a bold one.
- Ordered all the slabs together, from one batch.
And once it's fitted, check that every joint is flush, tinted to match and smooth under your fingers.
Caring for joints
A well-made joint needs no special treatment. Clean it like the rest of the counter, with a few drops of neutral soap on a damp cloth. A few habits help it last:
- Wipe up water that collects along a joint rather than leaving it to stand.
- Use a trivet for hot pans, especially near a joint.
- Don't stand or kneel on the counter to reach high shelves, as this puts stress on the joint.
- If a joint ever opens up or changes colour, ask your fabricator to clean it out and refill it, rather than trying to fix it yourself.
Our quartz countertop maintenance tips cover everyday care for the whole counter.
Plan your quartz kitchen with fewer joints
As one of the quartz slab manufacturers in India that presses its own super jumbo slabs in Hosur, Pacific Surfaces can help you plan a quartz kitchen with as few joints as possible. Find a dealer near you to see full slabs, try designs on your own kitchen with our Visualizer, or send us your layout and we'll suggest the best way to cut it.